Dealers preparing walk-behind power unit demos should lock attachments, test photos, spare parts and quote files before fall equipment shows.
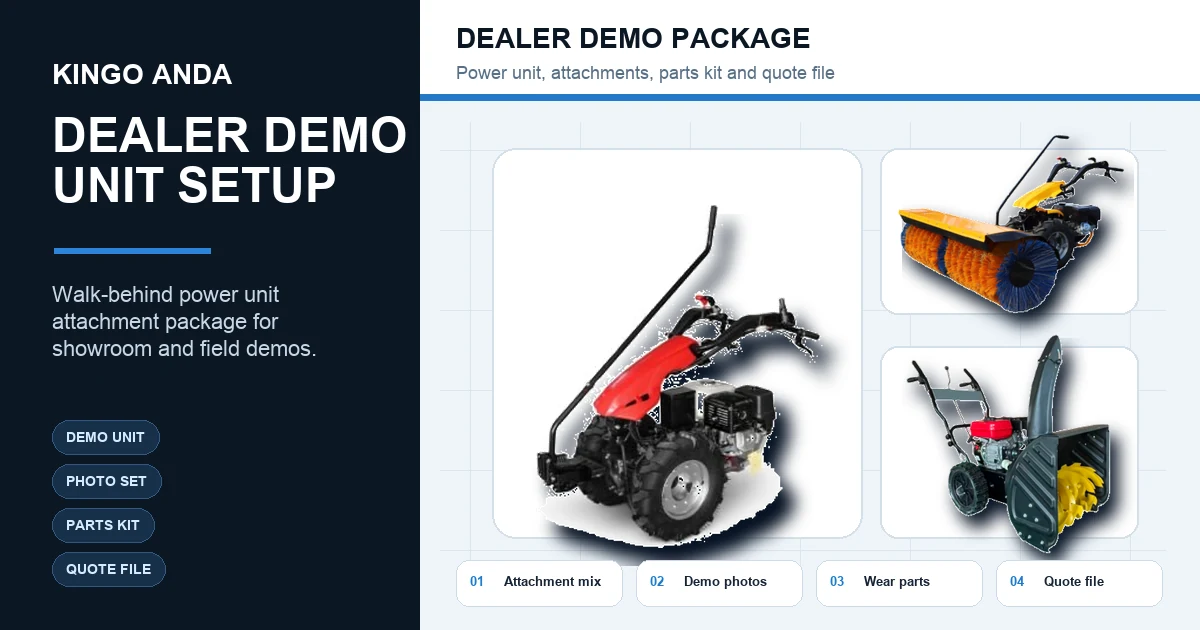
A dealer demo unit is not a showroom ornament. It is a commercial test. The buyer wants to know whether the machine can be explained quickly, moved safely, photographed cleanly, supported with parts and quoted without the factory rebuilding the file every time a new attachment is added.
That matters more as the fall equipment-show calendar moves closer. Equip Exposition lists its 2026 Louisville show for October 20-23 and promotes a large outdoor demo yard where dealers and contractors can test equipment, not just look at it. For compact equipment suppliers, that is a useful reminder: a demo package has to survive the real questions that come after the first photograph.
For a walk-behind power unit, the strongest demo package is rarely one machine by itself. It is the power unit, the first two or three attachments, the wear-parts plan, the photo set and the quote file arranged so a dealer can present the package with confidence.
Start with the job mix, not the machine label
The mistake is to begin with a model code and then hope the buyer understands the use case. A better demo starts with the work: sidewalk snow removal, mixed facility maintenance, property cleanup, small estate grounds care, rental counter use or dealer showroom comparison.
A multifunction power unit can carry different stories depending on the attachment set. A snow dealer may want the power unit shown with a snow sweeper and compact snow thrower. A grounds-care dealer may want mowing, tilling or washing attachments in the same conversation. The demo unit should make that job mix obvious before the sales team starts explaining.
Dealers should define the first demo route in practical language: route width, expected snow depth or soil condition, transport method, storage limits, operator skill level and the kind of customer who will see the unit first. That information decides which attachments belong in the first sample, and which should wait.
Build the demo unit around proof points
A useful demo package should prove five things. The power unit starts cleanly. The attachment locks in correctly. The working width is clear. The wear parts are easy to identify. The dealer can explain the package without opening a technical manual in front of the buyer.
That does not require a huge sample order. It requires a disciplined one. The first package should normally include the core power unit, one hero attachment, one comparison attachment, the most important consumable parts and a simple document set. If the market is winter-focused, the hero attachment may be a sweeper, with a thrower or blade used as the comparison. If the market is year-round maintenance, the snow attachment can sit beside mowing or soil-preparation equipment.
The point is not to show every SKU. The point is to show that the dealer can build a repeatable package from the snow-removal attachment line and expand from there.
Photograph the package before the buyer asks
Dealers lose time when the photo set is treated as an afterthought. A good demo unit should be photographed before it leaves the factory: power unit alone, power unit with each attachment, side view, operator position, label placement, spare-parts pack, carton or crate, and one clean composition for a quote sheet.
Those photos are not just for marketing. They help the dealer’s sales team, parts counter, service bench and buyer contact speak from the same file. If the sample arrives and the only available photo is a cropped product image on a white background, the dealer has to rebuild the story locally.
For private-label or OEM discussions, the photo set also prevents confusion around labels and finish details. The buyer can see what is fixed, what can be branded, and what still belongs to the manufacturer’s support identity.
Test the service items that stop a demonstration
The spare-parts pack should be built around failure points, not catalog width. A demo can be stopped by a belt, brush, scraper edge, skid shoe, cable, shear pin, bearing, fastener or filter long before the dealer needs a complete parts wall.
The Parts & Service file should travel with the demo quote. It should name fast-wear items, recommended starter quantities, replacement intervals where available, and the support path for the dealer’s first season. If the sales team has to ask for those details after the unit is already in the showroom, the supplier has made the dealer do avoidable work.
For compact snow equipment, the service file should match the attachment. A sweeper has different first-season concerns than a thrower. A mixed package needs the differences stated clearly.
Separate show assets from shipment assets
A dealer preparing for a fall show needs one set of assets for selling and another set for receiving. The selling set includes product photos, short descriptions, buyer-use notes, attachment comparisons and a clean quote sheet. The receiving set includes carton marks, label maps, packing photos, spare-parts lists and document files.
Do not mix those into one loose folder. A buyer-facing quote should not force the dealer to sort through crate photos. A warehouse file should not hide the model code under sales copy. Clean separation makes the package easier for the dealer to use and easier for the factory to repeat.
KINGO ANDA’s dealer path should keep both sides ready: the product story for the buyer, and the shipment story for the team that has to receive, stock and service the unit.
What to send before asking for the demo quote
A strong RFQ should include the target market, dealer type, first demo purpose, attachment mix, expected order volume, private-label needs, required photos, spare-parts expectations and any document requirement already known. For snow-focused buyers, add route width, snow condition, surface type and storage limits.
The better the RFQ, the less likely the supplier is to quote a generic machine that still needs to be rebuilt into a sellable dealer package. A useful demo unit should arrive with the attachments, files and support pieces that let the dealer start real conversations.
Dealers can begin with the Dealer Support page, compare related equipment notes in the blog, and send the final buyer profile through the contact page. The goal is not a bigger first sample. The goal is a demo package that can turn into a repeatable dealer program.